 Old Poppy on
  Mount
Calm
Mount
Calm Love
Shack
Stage
One
Stage Two
Stage Three
Heating
Links
-n- Resources
| Heating - The Kachelofen Stove - page 3 of 3 | |||
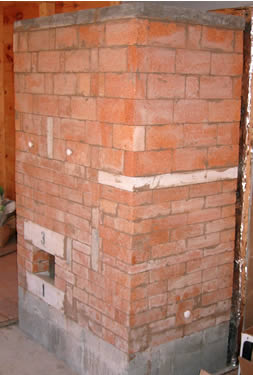
| Sept. 2004 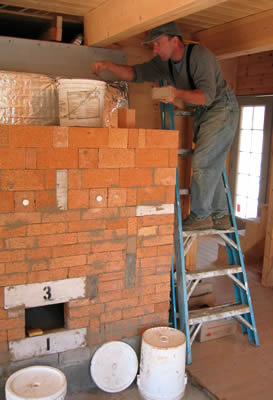 Dave, putting together our Kachelofen. He has two more layers of brick to go. Then the top goes on and we're there! |
Notice that the stove has a concrete board and a layer of insulation between it and our wall. Dave is using the owners instruction manual and lots of phone calls to Dave Cornell (our stove expert and distributor) to put the gem together. We will be able to use the stove once Dave lays the top.
|
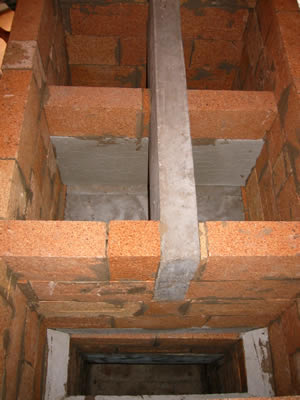 Here you can see the three inner top cavities. There are three more cavities beneath these. The fire burns in the largest lower cavity and then the heat moves slowly through the next 5 cavities allowing the bricks time to absorb the heat. |
|
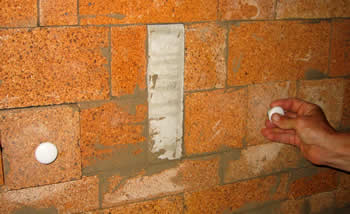 Two front clean-outs for the different cavities that make up our masonary stove. There is also the door through which we will load the wood and there is a clean-out on one side of the stove. |
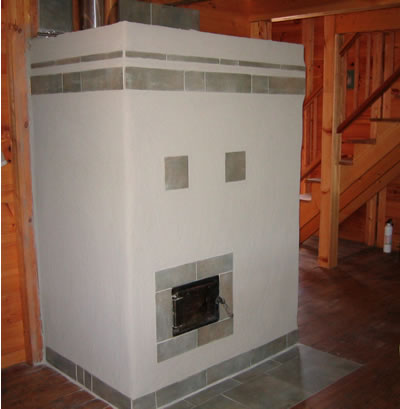
 Isn't She Beautiful! We need to install the stove pipe and the woodbox door. Then, we will fire her up. |
Final Step The final step will be to decide how to finish the outside of the stove. We are going to take some time to think about that. We can use it as it is and Dave can continue to finish the house so that we can get moved in before Christmas! |
|
She's a beauty and works like a charm too! |
 |
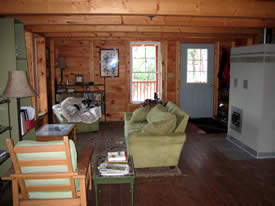 Finished Living Room with finished Stove. |
|
Visit our links
page to find out where you can learn more about and obtain a Kachelofen
stove. |
|||